Table of Contents
- What Is an Image Size Increaser?
- How Does an Image Size Increaser Work?
- Image Size vs Image Quality
- Why Do You Need to Increase Image Size?
- How to Use an Image Size Increaser
- Best Image Sizes for Different Uses
- How to Increase Image Size Without Making It Blurry
- Image Size Increaser for Social Media
- Image Size Increaser for Websites
- Image Size Increaser for Product Photos
- Image Size Increaser for Printing
- Normal Resize vs AI Upscaling
- Common Problems When Making Images Bigger
- How to Choose the Right Image Size
- Tips for Better Results
- Is an Online Image Size Increaser Safe?
- Frequently Asked Questions
- Final Thoughts
Click or Drag & Drop Image
Supports JPG, PNG, WEBP (Any Size & Resolution)
Processing...
Final Result
New Resolution
0 x 0
New Size (Est.)
0 MB
Image Size Increaser: Make Your Images Bigger the Easy Way
Sometimes a picture looks perfect, but it is simply too small.
Maybe a website asks for a larger image. Maybe a social media post needs a bigger picture. Maybe a product photo looks tiny on a store page. Or maybe an old photo looks blurry when you try to print it.
This is where an Image Size Increaser can help.
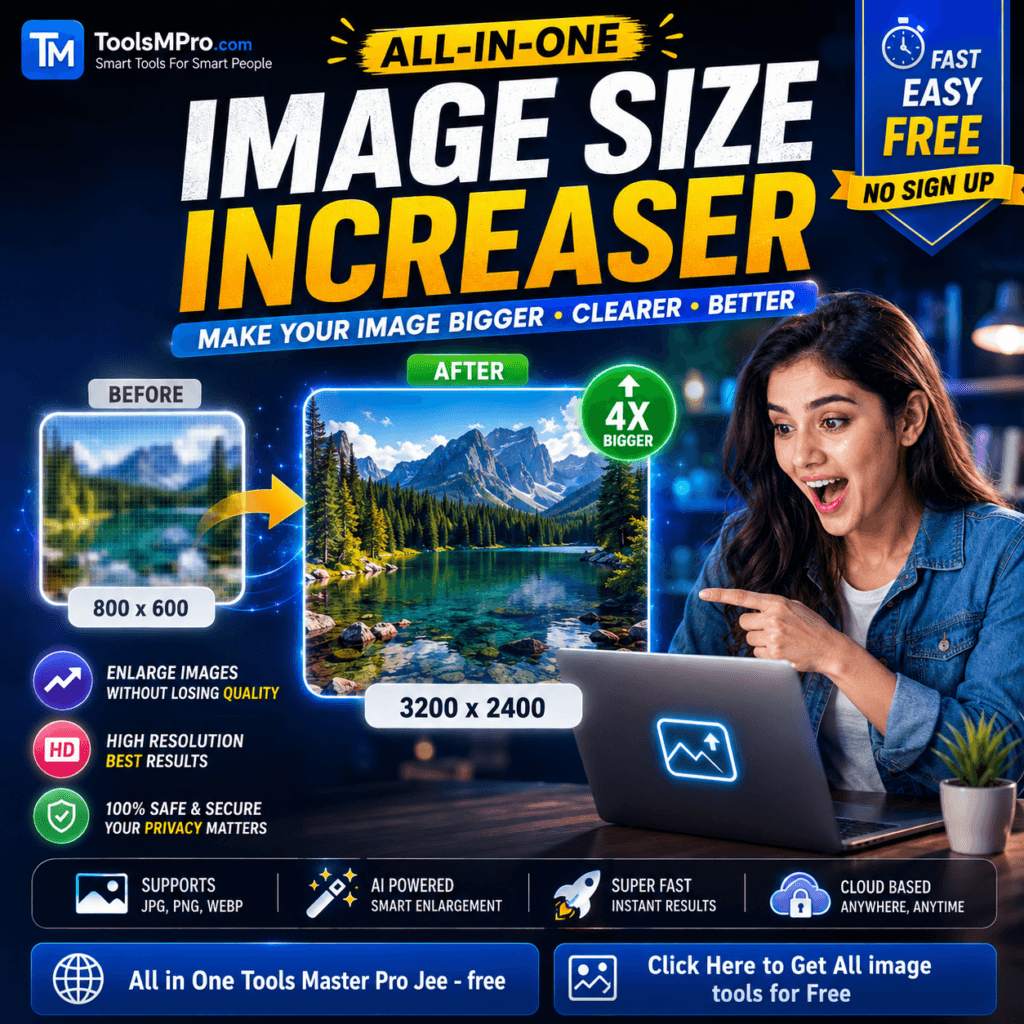
An Image Size Increaser makes an image larger by increasing its width, height, or pixel dimensions. Some tools simply resize the image, while advanced tools can also use AI to improve details and sharpness.
The good news is that you do not need to be a professional designer to do it.
With a simple online tool, you can upload an image, choose a larger size, and create a new version in just a few clicks.
What Is an Image Size Increaser?
An Image Size Increaser is a tool that helps you make a picture larger.
Every digital image is made from tiny dots called pixels. A picture with 800 × 600 pixels has fewer pixels than a picture with 2400 × 1800 pixels.
When you increase the image size, the tool changes the number of pixels or the physical dimensions of the image.
For example:
- Original image: 800 × 600 pixels
- Larger image: 1600 × 1200 pixels
- Bigger image: 2400 × 1800 pixels
The picture becomes larger on the screen.
But there is an important point.
Making a picture bigger does not always mean making it better.
If you simply stretch a very small picture, it may become blurry. A good resizing tool tries to keep the image clean. An AI-powered tool can go further by creating extra detail while enlarging the image.
This is why choosing the right method matters.
How Does an Image Size Increaser Work?
An Image Size Increaser normally works in a few simple steps.
First, you upload your picture.
Next, you choose the new width, height, percentage, or scale. Some tools may offer options such as 2x or 4x enlargement.
The tool then processes the image.
Finally, you download the larger version.
There are two common methods.
Basic Image Resizing
Basic resizing changes the dimensions of the image.
If the original picture is 1000 pixels wide, you could change it to 2000 pixels wide.
The software calculates new pixels based on the pixels already in the image.
This method is quick and useful for many everyday tasks.
AI Image Upscaling
AI upscaling uses machine learning to estimate extra image details.
Instead of only stretching the existing pixels, an AI system studies patterns such as edges, textures, shapes, and colors.
It then creates additional pixels that may make the larger picture look more natural.
Adobe describes AI upscaling as a method that can enlarge images while adding clarity and detail instead of simply stretching the original image.
This can be especially useful when a small image needs to become much larger.
Image Size vs Image Quality
This is one of the most important things to understand.
Image size and image quality are not exactly the same thing.
Imagine a tiny drawing on a piece of paper.
If you photocopy it at a larger size, the paper becomes bigger. But the drawing does not magically gain every tiny detail that was missing from the original.
The same idea applies to digital images.
A larger image can still look blurry if the original image had very little detail.
For example, changing a 300 × 300 pixel image to 3000 × 3000 pixels does not guarantee professional quality.
A good Image Size Increaser can help, but there are limits.
For the best result, always start with the highest-quality original image you have.
Why Do You Need to Increase Image Size?
There are many reasons to make an image larger.
1. Website Requirements
Some websites need images with specific dimensions.
A website banner may need a wide image. A profile section may require a square image. A product page may need a larger product photo.
Instead of searching for another picture, you can resize the image you already have.
2. Social Media Posts
Social media platforms use different image shapes and sizes.
One image may work well for a square post but not for a story or banner.
An Image Size Increaser can help prepare an image for a larger layout.
3. Product Images
Online stores often need clear product photos.
A larger image can give customers a better view of the product.
However, you should avoid making a tiny, blurry photo extremely large. Start with the best product photo available.
4. Printing
Printing needs more detail than simply viewing an image on a phone.
A small image may look fine on a screen but become blurry when printed.
Increasing the resolution or image dimensions can help prepare the image for larger prints.
5. Old Photos
Old digital photos may have small dimensions.
Increasing their size can make them easier to use in modern designs.
AI enhancement can sometimes improve the appearance of these images too.
-How to Use an Image Size Increaser
Using an online image tool is usually simple.
Step 1: Choose Your Image
Start with the original image.
Use the largest and clearest version you have. Avoid using a screenshot of a screenshot because every extra copy can reduce quality.
Step 2: Upload the Image
Open the Image Size Increaser and upload your picture.
Common formats may include JPG, JPEG, PNG, and WEBP, depending on the tool.
Step 3: Choose the New Size
You may be able to enter:
- Width
- Height
- Percentage
- Scale
- Resolution
- Preset dimensions
If you want to keep the image shape the same, look for an option such as Lock Aspect Ratio or Keep Proportions.
Step 4: Check the Preview
Look at the result before downloading it.
Check the face, text, edges, and small details.
If the image looks stretched or strange, try a different size.
Step 5: Download the Image
When the result looks good, download the larger image.
That is it.
No complicated design software is required for a basic resize.
Best Image Sizes for Different Uses
There is no single perfect image size for everything.
The right size depends on where you want to use the picture.
For Websites
Website images should be large enough to look sharp but not so large that they slow down the page.
For a website banner, a wide image may be useful.
For a blog image, a medium-to-large image can work well.
Always consider both dimensions and file size.
For Social Media
Social platforms use different layouts.
Square images are useful for many posts.
Portrait images can take up more screen space on mobile devices.
Wide images are useful for banners and certain video thumbnails.
Instead of using one size everywhere, create versions that match the place where the image will appear.
For Online Stores
Product photos should be large enough for customers to see important details.
A clean background and sharp edges can also make the product look more professional.
For Printing
Print quality depends on both image dimensions and resolution.
A common reference point for high-quality printing is 300 pixels per inch, although the ideal setting depends on the printer, viewing distance, and type of project.
Adobe’s image resizing guidance explains that resolution and pixel dimensions should be considered separately when preparing images for online use and print.
How to Increase Image Size Without Making It Blurry
This is probably the biggest question people have.
Can you make an image bigger without losing quality?
Sometimes yes, but there is no magic button that can recover every detail from a very poor original.
Follow these tips.
Start With a High-Quality Original
This is the number one rule.
If you have the original camera photo, use it.
Do not use a compressed social media copy if the original file is available.
Do Not Enlarge Too Much
If an image is already small, making it 20 times bigger may create a poor result.
Try a smaller enlargement first.
For example, 2x may look more natural than 8x.
Keep the Aspect Ratio
Do not change width and height independently unless you want to intentionally stretch the picture.
Keep proportions locked.
This prevents faces, products, buildings, and other objects from looking strangely wide or tall.
Use AI When Extra Detail Is Needed
If the image needs significant enlargement, an AI upscaler may provide better results than simple resizing.
AI tools can estimate details that basic resizing cannot.
Check the Final Image at 100%
Do not judge only from a tiny preview.
Zoom in and inspect:
- Hair
- Eyes
- Text
- Product edges
- Background details
- Fine lines
- Small patterns
This helps you spot problems before using the image.
Image Size Increaser for Social Media
Social media is one of the most common reasons people need bigger images.
A creator may have an old photo that looks too small for a new post.
A business may have a product image that needs to fit a promotional banner.
A content creator may need to turn one image into several different formats.
An Image Size Increaser can make this process easier.
For example, imagine you have a square product image.
You may need:
- A larger square image for a post
- A wider version for a website banner
- A portrait version for a story
- A high-resolution version for an advertisement
Increasing the image size is one part of the process.
Changing the canvas or aspect ratio may be another.
These are different tasks, so do not confuse them.
Image Size Increaser for Websites
Images are important for websites.
They can make a page easier to understand and more attractive.
But website images must be handled carefully.
A huge image can slow down a page.
A tiny image can look blurry.
The goal is balance.
Use an image that is large enough for the display area but optimized for the web.
You should also consider:
- File format
- Compression
- Pixel dimensions
- File size
- Image quality
- Responsive display
- Alt text
A larger image is not automatically a better website image.
The best image is one that looks sharp while loading efficiently.
Image Size Increaser for Product Photos
Product images can directly affect how a product looks online.
If a product photo is too small, customers may not see important details.
For example, imagine a photo of a watch.
A small image may hide the texture of the strap, the numbers on the face, or the shape of the buttons.
A larger, clearer image can give shoppers a better view.
However, avoid creating fake details.
If the original photo does not contain enough information, enlargement cannot guarantee perfect results.
Use AI enhancement carefully and compare the result with the original.
Image Size Increaser for Printing
Printing is different from screen viewing.
A picture that looks fine on a phone may look soft when printed on a large sheet.
This happens because printing needs enough image detail for the chosen physical size.
Before printing, consider:
- Final print size
- Pixel dimensions
- Resolution
- Printer quality
- Viewing distance
- Paper type
For a small photo, a moderate image size may be enough.
For a large poster, you need much more image data.
If your source image is tiny, an Image Size Increaser may help prepare it, but it cannot guarantee perfect large-format printing.
Normal Resize vs AI Upscaling
Here is a simple comparison.
| Feature | Normal Resize | AI Upscaling |
|---|---|---|
| Makes image larger | Yes | Yes |
| Changes pixel dimensions | Yes | Yes |
| Adds estimated detail | Limited | Yes |
| Usually fast | Yes | Usually |
| Good for simple resizing | Yes | Yes |
| Good for very small images | Limited | Often better |
| May require more processing | Low | Higher |
Normal resizing is useful when you only need different dimensions.
AI upscaling is more useful when you want the enlarged image to look clearer and more detailed.
Adobe’s current Firefly tools provide AI-powered image upscaling and describe 2x and 4x enlargement options for supported workflows.
Common Problems When Making Images Bigger
Problem 1: The Image Looks Blurry
This usually means the original image did not contain enough detail.
Try a smaller enlargement or use an AI-powered method.
Problem 2: The Face Looks Strange
AI tools can sometimes struggle with tiny faces.
Always inspect important facial details.
Problem 3: Text Becomes Unclear
Small text is difficult to enlarge.
If possible, use the original high-resolution design instead of trying to enlarge a screenshot.
Problem 4: The Image Looks Stretched
This usually happens when the width and height are changed without keeping the original proportions.
Turn on aspect-ratio locking.
Problem 5: The File Becomes Too Large
A larger image can create a larger file.
For websites, compress the final image before uploading.
How to Choose the Right Image Size
Choosing the right size is easier when you first ask one question:
Where will this image be used?
If it is for a website, check the size of the space where it will appear.
If it is for social media, check the platform’s current recommended dimensions.
If it is for printing, think about the final physical size.
If it is for an online store, check the marketplace’s image requirements.
Do not make the image huge just because you can.
Bigger is not always better.
A smart workflow is:
Purpose → Dimensions → Quality → File Size → Final Check
This simple process can save time and prevent unnecessary image problems.
Tips for Better Image Size Increaser Results
Here are some simple rules to remember.
Keep the Original File
Always save your original image.
Create a new enlarged version instead of replacing the original.
This gives you a backup.
Enlarge in Moderation
If you only need a little more size, do not use extreme enlargement.
Small changes often produce more natural results.
Use the Right Format
JPG is useful for many photographs.
PNG is useful when transparency or sharp graphics matter.
WEBP can be useful for web content when supported by your workflow.
Keep Important Details in Mind
If the image contains text, logos, faces, or product details, inspect those areas carefully after enlargement.
Compare Before and After
A quick side-by-side comparison can show whether the enlargement actually improved the image.
Sometimes the larger version looks worse.
If that happens, go back to the original and try another setting.
Is an Online Image Size Increaser Safe?
An online image tool should be easy to use, but privacy still matters.
Before uploading private or sensitive images, check the tool’s privacy policy and understand how uploaded files are handled.
For normal public images, online tools can be very convenient.
For private documents, personal photos, confidential business images, or sensitive files, choose a service that clearly explains its data practices.
Also avoid uploading files containing private information unless you trust the service.
A good habit is simple:
If the image is sensitive, check the privacy rules first.
Can an Image Size Increaser Improve Image Quality?
It can help, but the answer depends on the tool and the original image.
A basic resize changes dimensions.
An AI upscaler may add estimated detail and improve sharpness.
But no tool can perfectly recreate information that was never captured.
Think about it like this:
If you have a small puzzle with 100 pieces, making the puzzle board bigger does not create 1,000 real puzzle pieces.
AI can intelligently estimate missing information, but the result is still an interpretation.
That is why starting with the best original image is always the smartest choice.
Image Size Increaser vs Image Expander
These two terms sound similar, but they can mean different things.
Image Size Increaser
Usually makes the existing image larger.
The main subject stays inside the same basic frame.
Image Expander
Adds new space outside the original image.
For example, you could take a portrait image and create more background around the person.
Adobe’s Generative Expand is designed to extend an image beyond its original borders and generate new content that matches the existing scene.
So remember:
Size increase = make the existing picture bigger.
Image expansion = create more space around the picture.
Image Size Increaser vs Image Upscaler
These terms are also related.
A resize tool mainly changes dimensions.
An upscaler focuses more on improving the appearance of an enlarged image.
Some modern tools combine both features.
For simple jobs, normal resizing is enough.
For low-resolution images, an AI upscaler may be a better choice.
The right option depends on what you actually need.
When Should You Not Increase Image Size?
Sometimes the best choice is not to enlarge the image.
Do not increase the size if:
- The original image is already large enough.
- The final platform automatically resizes it.
- The image becomes blurry after enlargement.
- The file becomes unnecessarily large.
- You have access to a better original image.
- You are trying to print a very large poster from a tiny image.
Instead, find the original high-resolution file whenever possible.
That can produce a much better result than repeatedly enlarging a small copy.
A Simple Example
Imagine you have a 600 × 600 pixel photo of a product.
You want to use it in a larger website section.
You could increase it to 1200 × 1200 pixels.
If the original is clean and sharp, a normal resize may be enough.
If the original is low quality, you may want to test an AI-powered enlargement.
After processing, inspect the edges, text, and product details.
If everything looks good, use the larger version.
If it looks blurry, try another setting or locate a better original.
Simple.
Frequently Asked Questions About Image Size Increaser
What is an Image Size Increaser?
An Image Size Increaser is a tool that makes an image larger by changing its pixel dimensions, width, height, or scale.
Can I increase image size online?
Yes. Online image resizing tools let you upload an image, select a new size, process it, and download the result from your browser.
Can I make a small image bigger without losing quality?
You can make it bigger, but perfect quality cannot always be guaranteed. AI upscaling may produce better results by estimating additional detail.
What is the difference between resizing and upscaling?
Resizing mainly changes image dimensions. Upscaling can use advanced processing or AI to improve the appearance of the enlarged image.
Is 2x image enlargement better than 4x?
Not always. A 2x enlargement may look more natural for some images, while 4x can be useful when a much larger result is needed. The original quality matters.
Why does my enlarged image look blurry?
The original image may not have enough detail. A basic resize can make the lack of detail more noticeable.
Can I enlarge JPG images?
Yes. JPG is one of the most common formats used for photographs and online images.
Can I enlarge PNG images?
Yes. PNG images can also be resized or enlarged, depending on the tool.
Can an Image Size Increaser enlarge images for printing?
Yes, it can help increase pixel dimensions, but print quality also depends on resolution, physical print size, printer quality, and the original image.
Can I use an Image Size Increaser for social media?
Yes. It can help prepare images for different social media layouts and larger display areas.
Does increasing image size increase file size?
Usually, a larger image can require more storage space, especially when it contains more pixels. Compression and file format also affect the final file size.
Should I always make an image as large as possible?
No. Use the size you actually need. Extremely large images can create unnecessary file sizes without improving the visible result.
What is the best image size?
There is no single best size. The correct size depends on the website, social platform, print project, or other destination.
Can AI make a very small photo perfect?
No. AI can estimate missing details and improve the appearance, but it cannot guarantee that every missing detail will be recreated accurately.
Final Thoughts
An Image Size Increaser is a simple solution when you need a larger picture.
You can use it for websites, social media, product images, presentations, printing, and many other projects.
The most important lesson is this:
Do not confuse a bigger image with a better image.
Start with the best original file you can find.
Keep the proportions correct.
Choose a reasonable enlargement.
Use AI upscaling when extra detail is needed.
Always check the final result before publishing or printing.
And remember that every image has a limit. If the original picture is extremely small or blurry, no tool can guarantee perfect detail.
For everyday resizing, a simple online Image Size Increaser can save time and make image preparation much easier. When you need more advanced results, AI-powered upscaling can give you another useful option.
The goal is not simply to make an image bigger.
The goal is to make it the right size, clear enough for its purpose, and ready to use.
Recommended Internal Resources
Explore more useful tools from ToolsMPro.com and browse the complete collection of image tools for resizing, editing, converting, and improving images.
For a broader image-editing workflow, you can also compare your result with other professional image-editing solutions. Adobe provides official guidance on image resizing, resolution, cropping, and canvas changes.